Selling physical art prints at anime conventions, comic cons, craft fairs, and on digital storefronts (such as Inprnt, Etsy, or Shopify) is one of the most exciting and financially rewarding milestones for an independent digital illustrator. There is an unmistakable magic in seeing an illustration you rendered on a glowing glass tablet transformed into a tangible, museum-grade archival physical print held in an admirer’s hands.
However, that magic can instantly turn into frustration and costly waste if your prints arrive from the print shop with blurry linework, clipped artist signatures, muddy desaturated colors, or accidental white border slivers. Digital artists spend years mastering lighting, rendering, and anatomy on RGB computer monitors, yet physical printing operates under an entirely different set of optical and physical principles governed by dots-per-inch (DPI), ink drop halftones, mechanical hydraulic blade shears, and subtractive CMYK pigments.
In this authoritative guide, we demystify the mathematics of print resolution, clarify the crucial distinction between DPI and PPI, explain bleed margin geometry, and provide an actionable pre-flight checklist to ensure every physical print you sell looks breathtakingly sharp and vibrant.
1. DPI vs. PPI: Dispelling the Digital Resolution Myth
One of the most persistent misunderstandings in digital art communities is the belief that changing the “DPI” number in an image’s file metadata changes its visual quality on a screen. You have likely heard artists claim: “Web art must be 72 DPI, while print art must be 300 DPI.” In reality, this statement conflates two entirely different optical metrics:
- PPI (Pixels Per Inch): A purely digital metric describing pixel density. A 3000×4000 pixel illustration consists of exactly 12,000,000 raw color pixels regardless of what metadata tag is embedded in the header. On a digital monitor, an image with 3000 pixels displays at identical screen size whether its file header says 72, 300, or 1200 PPI.
- DPI (Dots Per Inch): A physical hardware metric describing how many microscopic droplets of liquid ink or toner particles a commercial offset press or giclée printer deposits across one linear inch of physical paper.
The DPI setting only becomes relevant when you translate digital pixels into physical inches of paper. The fundamental mathematical relationship that governs all commercial printing is:
Pixels = Physical Inches × DPI
If you want to produce an 8×10 inch physical print at the industry standard of 300 DPI, you multiply 8 × 300 = 2,400 pixels width, and 10 × 300 = 3,000 pixels height. If your digital canvas only has 1200×1500 pixels and you force a printer to print it across 8×10 inches, the printer must stretch those 1200 pixels across 8 inches, yielding an effective resolution of only 150 DPI—resulting in noticeable softness, fuzzy line art, and pixelation.
2. Standard Print Sizes & Exact Canvas Resolution Formulas
To avoid awkward aspect-ratio cropping or unintentional letterboxing, you should always establish your digital art canvas at the exact physical dimensions and DPI of your target merchandise before drawing your first sketch. Below is the master reference table for the most popular art print, convention poster, and merchandise formats (calculated at 300 DPI with standard 0.125-inch commercial bleed margins):
| Print Format | Physical Dimensions | Trim Pixels @ 300 DPI | Canvas Size with 0.125″ Bleed | Best Used For |
|---|---|---|---|---|
| A4 International Print | 8.27 × 11.69 in (210 × 297 mm) | 2480 × 3508 px | 2555 × 3583 px | Most popular worldwide convention print size |
| A3 Wall Poster | 11.69 × 16.54 in (297 × 420 mm) | 3508 × 4960 px | 3583 × 5035 px | Large bedroom posters & premium art prints |
| US Tabloid / Comic Board | 11.0 × 17.0 in (279 × 432 mm) | 3300 × 5100 px | 3375 × 5175 px | Standard North American convention artist alley print |
| Medium Art Print (8×10) | 8.0 × 10.0 in (203 × 254 mm) | 2400 × 3000 px | 2475 × 3075 px | Standard framed art for home decor & Etsy |
| Art Postcard (4×6) | 4.0 × 6.0 in (102 × 152 mm) | 1200 × 1800 px | 1275 × 1875 px | Convention mini-prints, thank-you cards, tier rewards |
| Square Art Print (8×8) | 8.0 × 8.0 in (203 × 203 mm) | 2400 × 2400 px | 2475 × 2475 px | Character portraits & Instagram-formatted art |
| Convention Retractable Banner | 33.0 × 80.0 in (838 × 2032 mm) | 4950 × 12000 px (@ 150 DPI) | 5025 × 12075 px | Artist Alley booth backdrop display |
3. The Vital Anatomy of Bleed Margins, Trim Lines, and Safety Zones
When commercial printing houses fulfill orders for hundreds or thousands of art prints, large stacks of paper are trimmed simultaneously using high-pressure hydraulic guillotine cutters. While industrial paper shears are exceptionally precise, paper fibers shift slightly under mechanical clamping pressure. As a result, the blade can drift up to 1mm to 2mm (roughly 0.0625 to 0.125 inches) in any direction.
To accommodate this mechanical drift without ruining artwork, all print files must be constructed around three concentric visual boundary lines:
- 1. The Bleed Line (Outer Perimeter): The outermost boundary of your digital canvas. You must extend your background illustrations, environment textures, sky washes, and ambient effects all the way to this edge—typically an extra 0.125 inches (3.175 mm / 38 pixels at 300 DPI) on all four sides. If the guillotine blade drifts slightly wide during cutting, it trims through artwork rather than revealing an unsightly sliver of bare white paper.
- 2. The Trim Line (Finished Cut Edge): The exact physical dimension of the final product you ordered (e.g. exactly 8.27×11.69 inches for A4). This is where the physical blade is intended to strike.
- 3. The Safety Margin (Inner Safe Zone): An inner guideline positioned at least 0.25 inches (6.35 mm / 75 pixels at 300 DPI) inside the trim line. You must keep all critical storytelling elements—including character eyes, fingers, weapon tips, speech bubbles, and your artist signature—safely inside this inner boundary. If the cutter drifts inward, your vital character details remain completely untouched.
4. Mastering Color Management: sRGB vs. Adobe RGB vs. CMYK
Few experiences are more disheartening for an artist than opening a box of fresh prints only to discover that radiant electric cyan magic effects have turned into dull denim blue, and vibrant lime green vegetation has shifted to muted olive sludge. This color shift occurs because digital displays and physical printers operate using fundamentally different color models:
- Additive RGB (Monitors & Tablets): Screens generate color by projecting light through Red, Green, and Blue subpixels. Combining all three at maximum intensity produces pure brilliant white. RGB displays can produce exceptionally saturated, fluorescent, and electric hues.
- Subtractive CMYK (Inks & Paper): Physical paper produces color by absorbing (subtracting) ambient wavelengths of light using Cyan, Magenta, Yellow, and Key (Black) inks. Combining inks subtracts light, moving toward dark tones. Because physical pigments cannot emit photons, the physical CMYK color gamut is significantly narrower than the RGB spectrum.
The Modern Color Workflow Strategy
Historically, commercial print prepress required artists to convert their working files into CMYK before handing them over. Today, however, modern fine art giclée printers use 8-ink to 12-ink pigment systems (including Light Cyan, Light Magenta, Vivid Red, Orange, Green, and Photo Black) that reproduce colors far beyond the boundaries of standard 4-color offset CMYK (SWOP/FOGRA).
The industry best practice today is:
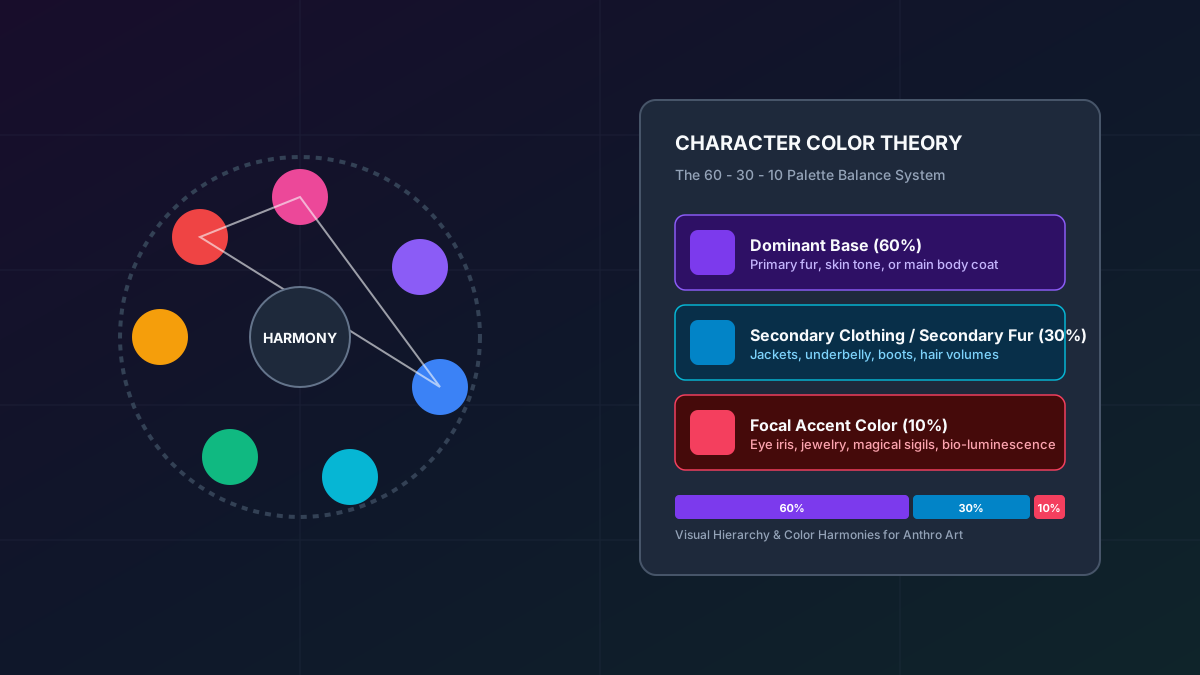
- Illustrate in Wide-Gamut RGB or sRGB: Maintain your master working file in RGB to preserve maximum color depth and flexibility for digital portfolio display, webcomics, and multi-ink art prints.
- Enable Soft Proofing During Inking & Rendering: Periodically toggle on Proof Colors (
Ctrl+Y/Cmd+Yin Photoshop or Clip Studio Paint) configured to a standard profile like U.S. Web Coated (SWOP) v2 or GRACoL 2006. This simulates how colors will render on physical paper, alerting you when a neon highlight will desaturate. - Manually Adjust Out-of-Gamut Hues: Rather than relying on automatic software gamut mapping (which often crushes subtle tonal gradations), manually adjust saturation and value curves in problem areas using selective color adjustment layers.
- Ask Your Print Vendor for Recommendations: High-end art printers like Inprnt and CatPrint prefer high-resolution sRGB files, allowing their proprietary RIP (Raster Image Processor) software to map colors directly to their wide 10-ink printer gamut. Mass-production offset merchandise printers often prefer CMYK files. Always verify your print vendor’s file specifications before submitting final print jobs.
5. Rich Black vs. Pure Black: Avoiding Faded Muddy Backgrounds
If your digital illustration features a deep, dramatic black background (such as deep space, a nocturnal city alley, or moody shadow vignettes), sending a file with standard 100% K black (C:0% M:0% Y:0% K:100%) will result in a disappointing charcoal-gray print. Single-plate black ink absorbs into paper fibers, looking faded and translucent under direct gallery lighting.
To produce a deep, lustrous, ink-heavy black, professional printmakers use Rich Black—layering supporting cyan, magenta, and yellow ink beneath the black plate. The standard commercial rich black formula is:
C: 60% | M: 40% | Y: 40% | K: 100%
Crucial Rule: Never use “Registration Black” (C:100 M:100 Y:100 K:100 = 400% Total Ink Coverage). Exceeding 300% total ink density causes paper saturation, ink bleeding, roller smudging, and sheet sticking during production drying cycles.
6. Paper Stock Selection and Printing Methods for Independent Creators
The choice of paper stock influences the tactile perception, contrast, and perceived market value of your physical prints just as much as your digital brushwork. Here is how popular paper finishes compare:
- Heavyweight Matte Cardstock (100lb / 300 gsm): The undisputed workhorse of convention Artist Alleys. Eliminates distracting overhead light glare, resists fingerprints during customer browsing, and showcases rich line art and pastel color palettes beautifully.
- Satin / Luster Photo Paper (250–300 gsm): Combines the deep contrast and dynamic punch of glossy paper with the glare-resistance of matte finish. Excellent for cinematic illustrations featuring intense lighting, metallic armor, and glowing spell effects.
- 100% Cotton Rag Fine Art Paper (Giclée / 310 gsm): Premium museum-quality archival paper with a subtle, luxurious tooth. Acids and lignins are fully removed, guaranteeing 100+ years of lightfastness without yellowing. Sells for $30 to $65+ per print in limited fine art editions.
- Holographic & Foil Stamped Finishes: Spectacular for convention merchandise. When designing for holographic or gold foil accents, create a dedicated 100% solid black mask layer indicating the exact regions where foil should adhere.
7. Pre-Flight Quality Assurance Checklist Before Sending to Print
Before hitting submit on your print vendor’s upload dashboard, run through this five-minute pre-flight checklist to avoid costly reprints:
- Inspect at 100% Zoom: Zoom to 100% scale in your image editor. Pan across the canvas to inspect fine details, eyelashes, line intersections, and gradient fades. Any visible noise, stray brush strokes, or compression artifacts visible at 100% will appear clearly on physical paper.
- Verify Bleed Dimensions: Confirm that your canvas includes the extra 0.125″ bleed margins on all four sides, and verify that scenic artwork extends completely to the edge.
- Check Safety Margins: Ensure your artist signature, copyright notice, and essential character focal points are at least 0.25″ away from the trim line.
- Flatten All Layers: Save a dedicated print export with all layers flattened to prevent blend mode rendering discrepancies between different RIP software engines.
- Embed the Correct ICC Color Profile: Ensure your exported TIFF or high-quality PDF includes an embedded color profile tag (such as sRGB IEC61966-2.1 or Coated FOGRA39).
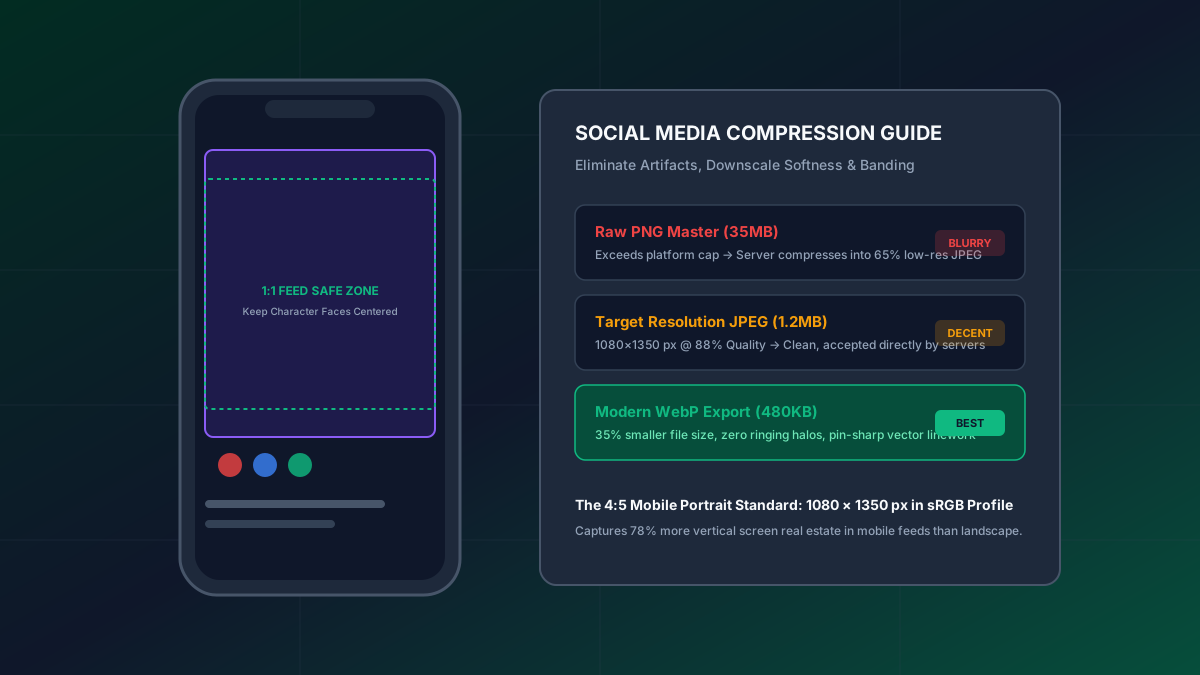
- Export in Lossless Format: Save final print files as uncompressed TIFF or maximum-quality PDF. If your print shop only accepts JPEGs, export at 100% Quality / Baseline Optimized to prevent blocky 8×8 DCT compression artifacts.
Calculate Your Perfect Canvas in Seconds
Never guess pixel dimensions, bleed math, or DPI scaling again. Use our free, in-browser Digital Art DPI & Print Dimensions Calculator to determine exact pixel dimensions for standard paper formats, calculate custom merchandise specs, and copy ready-to-paste presets directly into Clip Studio Paint, Photoshop, and Procreate.