Every digital artist knows the crushing heartbreak: you spend forty hours perfecting intricate line work, delicate chromatic gradients, and nuanced texture brushes in Clip Studio Paint or Procreate. Your illustration looks crisp, breathtaking, and razor-sharp on your calibrated monitor. But the moment you upload it to Twitter/X, Instagram, Cara, or Bluesky, the platform’s automated compression engine attacks your file—mashing your subtle gradients into ugly banded artifacts, crushing your crisp ink lines into blurry halo noise, and ruthlessly slicing off your character’s head in the algorithmic mobile feed preview.
Social media platforms process billions of media uploads every day. To minimize storage costs and bandwidth overhead, their automated ingest pipelines run aggressive lossy compression algorithms, strip color profiles, and downsample oversized files without mercy. If you upload a 6,000×8,000 pixel, 50MB raw PNG directly to social feeds, you are handing total control of your artwork’s visual fidelity over to a blind compression robot.
Fortunately, you do not have to accept ruined artwork. By understanding platform-specific dimension thresholds, mastering the revolutionary benefits of modern WebP formatting, calculating feed “safe zones,” and pre-processing your images with client-side batch tools, you can ensure your artwork looks exactly as you intended on every screen.
The Myth of “DPI” in Digital Web Graphics
Before diving into aspect ratios, we must dispel one of the most pervasive misconceptions in digital art: the myth of DPI (Dots Per Inch) or PPI (Pixels Per Inch) for web display.
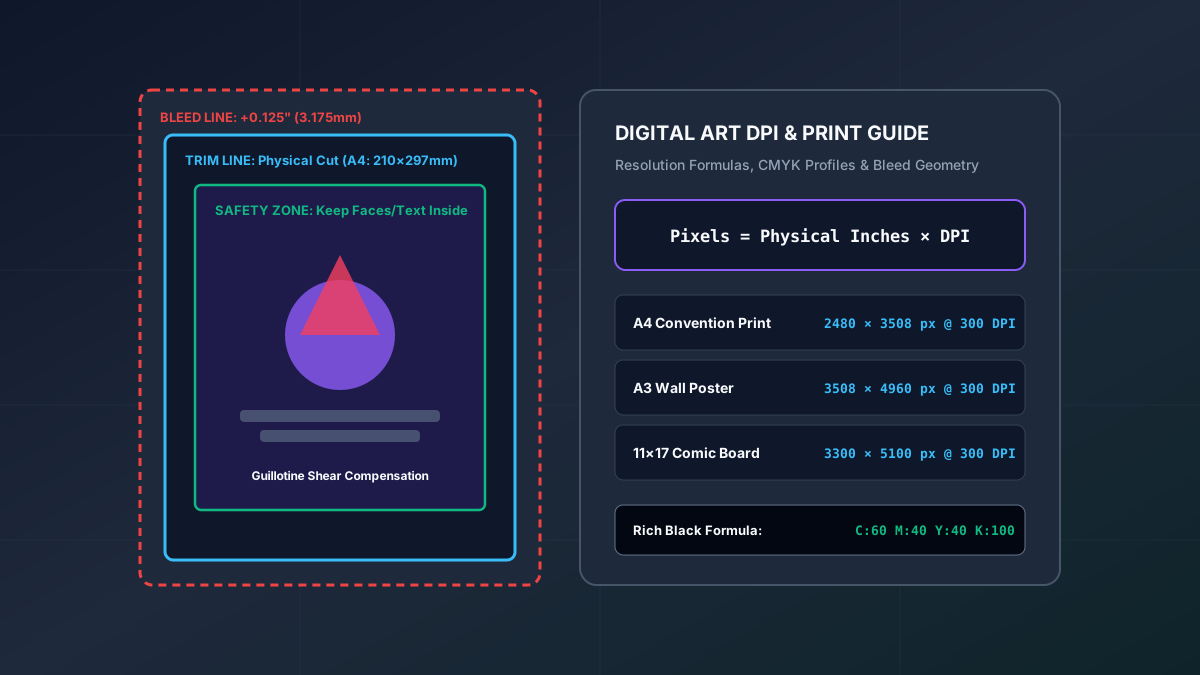
Countless tutorials insist that artists must “save for web at 72 DPI” or “draw at 300 DPI for high quality.” In reality, DPI is strictly a physical print metric. It tells a physical printer how many droplets of ink to deposit across a physical linear inch of paper. Web browsers and mobile operating systems do not care about DPI metadata in the slightest. A 1920×1080 pixel image saved at 72 DPI contains exactly 2,073,600 pixels. That exact same image saved at 300 DPI or 1,200 DPI still contains exactly 2,073,600 pixels and will render at the exact same physical size on any digital display.
Takeaway: Do not waste time changing your canvas DPI metadata for web posts. Focus exclusively on absolute pixel dimensions (width × height) and aspect ratios. Those are the only metrics social algorithms evaluate.
Social Media Platform Master Dimension Matrix
Each major social network uses different default crop windows for algorithmic feeds. Here is the definitive dimension and aspect ratio cheat sheet for artists in 2026:
========================================================================
SOCIAL PLATFORM OPTIMAL ARTWORK SPECIFICATIONS
========================================================================
Platform          Optimal Dimensions    Aspect Ratio    Crop Behavior
------------------------------------------------------------------------
Instagram Feed    1080 × 1350 px        4:5 (Vertical)  Max feed real-estate;
                                                        crops 1:1 in grid
Twitter / X       1600 × 900 px (Horiz) 16:9 / 1:1      Single image fits 16:9;
                  1200 × 1200 px (Sq)   or 3:4          verticals get feed-cropped
Bluesky           1200 × 675 px (Horiz) 16:9 / 1:1      Crisp previews; accepts
                  1000 × 1000 px (Sq)   or 4:5          lossless PNG under 1MB
Cara              1600 × 2000 px        4:5 / 1:1       High-res friendly;
                                                        artist-first compression
Discord Preview   1200 × 630 px         1.91:1          OpenGraph embed standard;
                                                        4:3 box previews
========================================================================
Why the 4:5 Vertical Ratio Dominates Mobile Feeds
Over 82% of social media consumption takes place on handheld smartphone screens held in portrait orientation. When you post a wide 16:9 landscape illustration on Instagram or Cara, it occupies less than one-third of the viewer’s vertical screen space. The user can scroll past your hard work in a fraction of a second without ever noticing your detailed background elements.
By framing or cropping your artwork to a 4:5 vertical aspect ratio (1080×1350 px or 1600×2000 px), your illustration commands nearly the entire mobile viewport. This forces the viewer to spend longer looking at your piece, drastically increases tap-through rates, and signals to the platform’s engagement algorithm that your content holds user attention.
JPEG vs. PNG vs. WebP: The Technical Battle for Linework
To defeat compression artifacts, you must understand how different image compression algorithms process digital art:
1. The JPEG Problem: High-Frequency Linework Destruction
JPEG relies on Discrete Cosine Transform (DCT) lossy compression, which splits images into 8×8 pixel blocks. While JPEG is wonderful for continuous-tone photography, it is catastrophic for digital illustration. Crisp ink lines, comic lettering, and cel-shaded borders represent “high-frequency spatial data.” When compressed via JPEG, the algorithm cannot handle the abrupt transition between dark line art and bright flat colors, resulting in ringing artifacts (ugly fuzzy halos) and chromatic mosquito noise around every contour.
2. The PNG Dilemma: Heavy File Weight
PNG uses lossless Deflate compression. It preserves every single pixel, clean line, and subtle gradient with pristine perfection. However, high-resolution 24-bit RGB PNGs can easily weigh 15MB to 40MB. When social media platforms detect an upload exceeding their file size ceiling (often 5MB to 8MB), they do not simply reject the file; they silently convert your beautiful PNG into a low-quality, 70%-quality JPEG on their own backend servers!
3. The Modern Solution: WebP
Developed specifically for the modern web, WebP offers advanced predictive predictive coding and transform algorithms that deliver 25% to 35% smaller file sizes than comparable JPEGs at equivalent visual quality. More importantly, WebP handles sharp edges and color flats with vastly superior boundary preservation, completely eliminating the ugly halo ringing that plagues legacy JPEG exports.
Designing for “Feed Safe Zones” to Prevent Headless Crops
Even if you post a stunning vertical illustration, many algorithmic feeds automatically generate square (1:1) or panoramic (16:9) thumbnail previews for search grids, explore tabs, and link cards. If your character’s face is positioned near the top of the canvas, the automated thumbnail crop will sever their head, presenting a confusing torso or plain background in the explore feed.
To guarantee that your previews look enticing across every view, use the Feed Safe Zone Method:
- Identify the Center 1:1 Box: On your 4:5 vertical canvas (1080×1350 px), measure a 1080×1080 pixel square dead-center in the middle.
- Position Key Focal Elements Inside the Safe Box: Ensure your character’s eyes, primary facial expression, or central action beat falls inside this central square.
- Use Margins for Secondary Atmosphere: Allow hats, weapon tips, spell effects, and environment backgrounds to extend into the top and bottom 135-pixel margin zones. If the feed crops the image into a square preview, your primary character remains perfectly framed.
Watermarking and Signature Placement Strategy
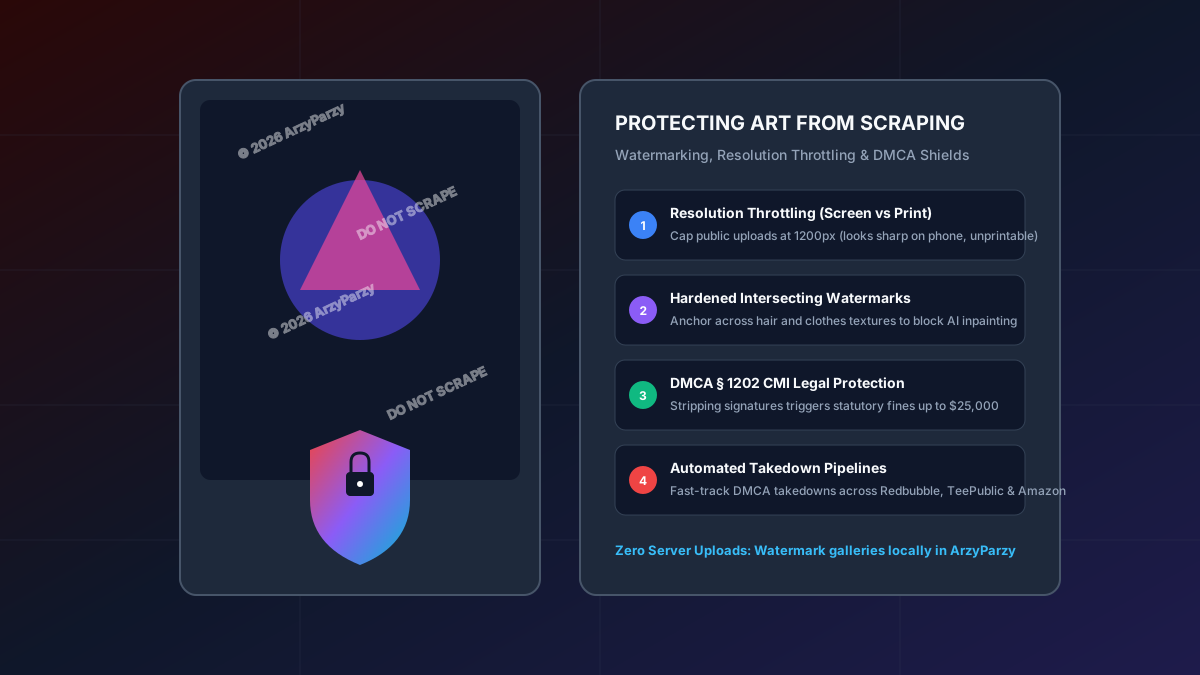
In an era of automated image scraping, unauthorized repost accounts, and AI training bots, protecting your intellectual property is essential. However, slapping a massive, opaque, obtrusive watermark directly across your character’s face ruins the artwork’s aesthetic impact and actively discourages legitimate art collectors and art directors from sharing your work.
Follow these professional watermarking guidelines:
- Low Opacity Overlay (15% to 25%): A semi-transparent signature rendered in neutral gray or sampled from the underlying palette will protect your artwork without distracting the viewer’s eye.
- Anchor to High-Contrast Textured Areas: Never place your watermark on a solid, flat background color; content scrapers can easily erase solid-background watermarks in seconds using content-aware fill tools. Instead, anchor your signature across a complex texture—such as character hair strands, chainmail, or crosshatched clothing folds.
- Batch Watermark Locally: Rather than manually stamping your watermark across dozens of portfolio files by hand, use the ArzyParzy Portfolio Watermark Tool. It lets you customize font size, opacity, rotation angle, and repeat tiling patterns, stamping an entire folder of artwork simultaneously right inside your web browser.
The Zero-Friction Pre-Publishing Workflow
Before hitting “Publish” on your next social media post, run through this five-minute pre-flight checklist to maximize visibility and visual quality:
Step 1: Save Master Print File
Always preserve your full-resolution layered master file (PSD, CLIP, or TIFF) at your original working resolution (e.g., 4000×6000 px). Never overwrite your master file with a downsampled web export.
Step 2: Batch Resize to Platform Targets
Drop your exported master PNG into the ArzyParzy Social Image Resizer. Select your desired platform presets (e.g., Instagram 4:5, Twitter Landscape, Discord Embed), choose your resampling filter, and let the tool generate crisp, perfectly downscaled files packaged neatly in a zip archive with zero server uploads.
Step 3: Convert Color Space to sRGB
Ensure your exported image is encoded in the sRGB IEC61966-2.1 color profile. If you inadvertently export in Display P3 or Adobe RGB (1998), non-color-managed web browsers and Android devices will render your vibrant reds and greens as desaturated, washed-out pastels.
Step 4: Check File Size Threshold
Verify that your final file size is under 2.5MB for PNGs or under 800KB for WebP. Staying well below platform file size caps guarantees that the social platform’s ingest server will serve your original file directly without triggering a secondary re-compression cycle.
Conclusion: Take Back Control of Your Art
You pour countless hours of dedication, skill, and creative passion into your artwork. Allowing a crude social media compression script to blur your line work and distort your color choices is an avoidable tragedy. By intentionally framing your art for mobile feeds, targeting optimal pixel dimensions, utilizing modern WebP formatting, and pre-processing with our suite of free creator tools, you ensure your illustrations shine with the brilliance and clarity they deserve.
Ready to prep your portfolio for your next launch? Test drive our Social Image Resizer and Portfolio Watermark Tool now—free, instantaneous, and completely private in your browser.