The rise of digital mobile webcomics has fundamentally transformed how visual stories are paced, staged, and consumed worldwide. Unlike traditional Japanese manga or Western graphic novels designed for two-page horizontal book spreads, mobile platforms like WEBTOON, Tapas, and GlobalComix operate strictly on an infinite vertical scroll axis. On a smartphone screen, the reader’s scrolling thumb controls the passage of time, suspense, comedic timing, and emotional impact.
However, digital illustrators transitioning from standard print comic pages often struggle with the unique technical and artistic realities of vertical storytelling: rigid 800×1280 pixel upload limits, mobile subpixel seam glitches, dialogue placement ergonomics, and erratic pacing where panels feel either suffocatingly dense or disjointedly spaced. In this comprehensive masterclass, we break down the geometry of vertical comic creation, gutter spacing math, reading ergonomics, and an automated in-browser slicing workflow that eliminates tedious manual cropping.
1. The Psychology of the Vertical Scroll: The 1-Second Thumb Rule
When a reader engages with a physical comic book, their peripheral vision takes in an entire two-page spread before their conscious gaze begins scanning individual panels. They instinctively register upcoming action beats, page-turn cliffhangers, and color shifts. In a vertical webtoon, that peripheral foresight is completely stripped away. The reader only sees what is currently framed inside their mobile viewport—typically an area measuring roughly 375×812 points on a standard handheld device.
Because the reader cannot see what lies ahead, vertical storytelling functions much more like a cinematic camera track or a film storyboard. User testing reveals that mobile readers scroll past a standard viewport in approximately 0.8 to 1.4 seconds during conversational sequences, slowing down to 2.5 to 4.0 seconds for elaborate full-width establishing shots or emotionally charged character close-ups.
To orchestrate narrative momentum, professional webtoon creators structure episodes around three primary rhythmic pulses:
- The Quick Beat (Dialogue & Reaction): Tightly grouped panels separated by modest gutters (150px to 300px). These accelerate reader velocity during banter, urgent confrontations, or fast-paced exposition.
- The Spatial Anchor (Establishing & Environmental Pan): Tall, expansive vertical panels (1200px to 2000px tall) that force the reader to scroll continuously through an environment. This creates an immersive sense of scale, vertigo, or physical travel.
- The Emotional Pause (Negative Space Gutter): An intentional vertical void (800px to 1500px of clean gradient or solid color) devoid of dialogue. This negative space compels the reader’s thumb to scroll through empty canvas, simulating the psychological weight of silence, shock, grief, or imminent dread before the next panel hits.
2. Technical Requirements: Webtoon vs. Tapas Specifications Matrix
Before drawing a single line of art, every creator must understand the strict mechanical constraints enforced by major digital webcomic distributors. Uploading incorrectly sized files results in aggressive automated server-side downsampling, which softens linework and introduces noticeable compression artifacts.
| Platform | Upload Width | Max Slice Height | Max File Weight | Supported Formats | Episode File Limits |
|---|---|---|---|---|---|
| LINE Webtoon Canvas | 800 px (Strict) | 1280 px | 2.0 MB / slice | JPEG (PNG converted) | Up to 100 slices (20MB total) |
| Tapas Media (Community) | 940 px (Recommended) | 1300 px (or up to 4000px) | 2.0 MB / slice | JPEG, PNG, GIF | Up to 40 images per episode |
| GlobalComix | Up to 1600 px | No rigid cap | 25.0 MB / image | PNG, JPEG, WebP, PDF | Dynamic responsive viewer |
| Instagram Webcomic Carousel | 1080 px | 1350 px (4:5 Portrait) | 8.0 MB / slide | JPEG, PNG | 10 to 20 slides per post |
| Twitter / X Comic Strip | 1200 px to 2048 px | Variable (Up to 4096 px) | 5.0 MB / image | PNG, JPEG, WebP | Up to 4 images per tweet |
3. The 2X Master Canvas Architecture: Never Draw at 800px
The single most destructive workflow mistake made by novice webcomic creators is creating their master drawing files at exactly 800 pixels wide because LINE Webtoon requires 800px uploads. Drawing at 800px width severely undermines your project in several irreversible ways:
- Destroys Print Licensing & Graphic Novel Potential: If your webcomic gains popularity and a publisher offers a book deal, an 800px digital canvas cannot be printed. At commercial 300 DPI print standards, an 800px image prints at a meager 2.6 inches wide. Attempting to upscale it results in blurry, pixelated line art that fails publisher print checks.
- Blurs on Modern High-DPI Mobile Screens: Premium smartphones feature 3x Retina and OLED screens boasting 450+ pixels per inch. Mobile browsers render 800px images across these dense screens by magnifying CSS pixels, revealing antialiasing softness in small details and speech bubble text.
- Degrades Digital Inking Precision: Vector inking and pressure-sensitive brush engines in Clip Studio Paint and Photoshop require ample pixel resolution to calculate smooth stabilization curves without stair-stepped jagged edges.
The industry gold standard is to work on a 2X Master Canvas (1600px width) or a 3X Master Canvas (2400px width) at 300 DPI. Keep your long-strip drawings organized in vertical segments of 8,000px to 15,000px in height. This provides high-resolution fidelity for physical graphic novel collections down the road, while downscaling cleanly to crisp 800px web slices upon final export.
4. Mathematical Guide to Gutter Spacing and Temporal Pacing
In traditional horizontal print comics, panels are separated by consistent gutters measuring approximately 5mm to 8mm. In vertical webcomics, gutter height is a fluid narrative variable that directly controls the reader’s perception of elapsed time. Here is the mathematical framework used by leading webtoon studios (calibrated for an 800px wide export canvas):
- Micro-Gutters (80px – 180px) — Instantaneous Action: Use when illustrating simultaneous reactions, physical punches, rapid sword parries, or rapid back-and-forth verbal sparring. The proximity of the panels prevents the reader’s eye from resting, creating breathless urgency.
- Standard Conversational Gutters (250px – 450px) — Natural Dialogue: The standard baseline for typical narrative flow. This distance ensures that only one major panel is centered in the mobile viewport at a time, preventing dialogue overlapping while maintaining a smooth, unhurried reading cadence.
- Major Scene Shift Gutters (600px – 900px) — Pacing Reset: Denotes a change in physical location, camera perspective, or emotional stance. When the reader scrolls through this empty space, it functions like a cinematic fade-to-black.
- The Dramatic Void (1000px – 1600px) — Shock & Revelation: Use immediately preceding a major plot revelation, tragic realization, or monster reveal. The physical effort required by the reader to keep swiping their thumb builds palpable tension, making the eventual reveal panel deliver maximum visceral punch.
5. Dialogue Ergonomics & The Mobile “Thumb Zone”
Mobile webcomics are read one-handed on mobile devices. According to ergonomic user research by Steven Hoober, over 75% of smartphone users navigate touchscreens using only their right or left thumb. Placing speech bubbles or critical text in the bottom right corner of the screen puts them directly under the reader’s resting thumb, causing visual occlusion and reader frustration.
Follow these structural dialogue placement guidelines:
- The Staggered S-Curve: Position speech bubbles in a gentle, alternating zig-zag pattern (left, right-center, left-center). This naturally pulls the reader’s gaze down the scrolling strip without jarring horizontal jumps.
- Minimum Font Legibility: On your final 800px wide canvas, dialogue body font size should never fall below 14px to 18px (which translates to 28px to 36px on a 1600px 2X master canvas). If readers must pinch-to-zoom to read speech bubbles, reader retention plummets by over 40%.
- Tails Pointing to Mouths: Speech bubble tails must point clearly toward the speaker’s mouth or head. If the speaker is off-camera, use a lightning bolt or zigzag tail directed toward the nearest canvas border to indicate off-screen dialogue (O.S.).
- Word Balloon Padding: Maintain at least 25% empty padding inside every dialogue bubble. Crowding text against bubble borders makes panels look amateurish and creates visual fatigue. Use our Comic Speech Bubble Maker to generate SVGs with balanced oval curvature and generous typography margins.
6. Solving the Subpixel Seam Line Glitch
One of the most maddening technical hurdles webcomic artists face is the dreaded “white seam line”—a razor-thin 1-pixel horizontal white stripe that flashes intermittently between sliced images as readers scroll through episodes on mobile browsers. This glitch is not caused by your drawing software; it is caused by the mobile browser’s layout engine.
When Safari, Chrome, or the LINE Webtoon in-app browser renders stacked images on a high-density screen, it maps CSS layout coordinates using 32-bit floating-point arithmetic. If an image height or zoom ratio calculates to an uneven fractional coordinate (e.g. 1280.33 pixels), the GPU round-off leaves a fractional subpixel gap between consecutive image containers, exposing the underlying white page background.
The Overlap Buffer Solution
The only foolproof, platform-agnostic fix for subpixel rendering glitches is an Overlap Buffer. Rather than cutting image slices with rigid, zero-margin edge seams, modern slicing engines overlap consecutive slices by 10 to 30 pixels. Slice 2 begins 20 pixels before Slice 1 ends, duplicating a narrow strip of background artwork.
Because the consecutive images share identical overlapping pixel data, any subpixel floating-point gap simply reveals the duplicate pixel underneath rather than empty white background. Our in-browser Webtoon & Comic Panel Slicer includes automated overlap buffering natively, ensuring your published episodes scroll seamlessly across every iOS and Android device without rendering artifacts.
7. End-to-End In-Browser Slicing Workflow with ArzyParzy
Exporting an entire 60-panel episode manually using desktop software slice tools requires drawing dozens of slice boxes by hand, naming each slice sequentially, and double-checking that no slice exceeds 1280 pixels. The ArzyParzy Webtoon Slicer condenses this tedious multi-hour chore into a 10-second automated browser task:
- Export Your Master Strip: In Clip Studio Paint, Photoshop, or Procreate, export your continuous comic chapter as high-resolution PNG or TIFF files (e.g. 1600×24000 px).
- Drop into ArzyParzy Panel Slicer: Navigate to the Webtoon & Comic Panel Slicer in your web browser. Drag and drop your long-strip canvas into the upload zone. Processing happens 100% locally on your machine using HTML5 Canvas—your artwork is never uploaded to external servers.
- Select Target Preset: Choose LINE Webtoon (800×1280 px), Tapas (940×1300 px), or Instagram Carousel (1080×1350 px). The tool automatically calculates the exact number of slices required.
- Enable Overlap Buffering: Toggle on the 20px Anti-Seam Overlap buffer to guarantee zero white gap rendering errors on mobile screens.
- Download Numbered Zip Archive: Click Slice & Download ZIP. The tool automatically resizes, crops, numbers (`episode_01_slice_001.jpg`, `episode_01_slice_002.jpg`), and archives all slices into an organized ZIP package ready for instant publisher upload.
8. Seven Critical Mistakes Webcomic Creators Must Avoid
Even veteran illustrators stumble into these common formatting pitfalls when transitioning to vertical webcomics:
- The Horizontal Manga Squeeze: Attempting to paste a two-page manga spread directly into an 800px vertical strip without re-staging characters and panels. Panels become microscopic, text becomes unreadable, and readers bounce immediately.
- Wall-of-Text Balloons: cramming 50 words into a single massive dialogue bubble. On a phone screen, large text blocks look overwhelming. Break long monologues across 2 or 3 smaller, staggered bubbles that guide the reader down the page.
- Flat White Void Fatigue: Using pure, untextured #FFFFFF white for every single gutter across an entire episode. Subtle paper grain, atmospheric watercolor washes, or subtle color gradients connecting panel backgrounds make the scrolling experience significantly more visually engaging.
- Neglecting Episode Thumbnails: Uploading an uninspired episode thumbnail. Your episode thumbnail (436×436 px on Webtoon) is your primary storefront. Choose an expressive character close-up with high contrast rather than a wide, cluttered action shot.
- Excessive Panel Height: Drawing individual panels that exceed 3500 pixels in height without visual anchors. If a reader scrolls for three full seconds without encountering a single focal point or dialogue beat, they feel lost.
- Inconsistent Reading Direction: Mixing Western left-to-right speech bubble ordering with Japanese right-to-left balloon flow within the same chapter. Choose one consistent reading convention and adhere to it strictly.
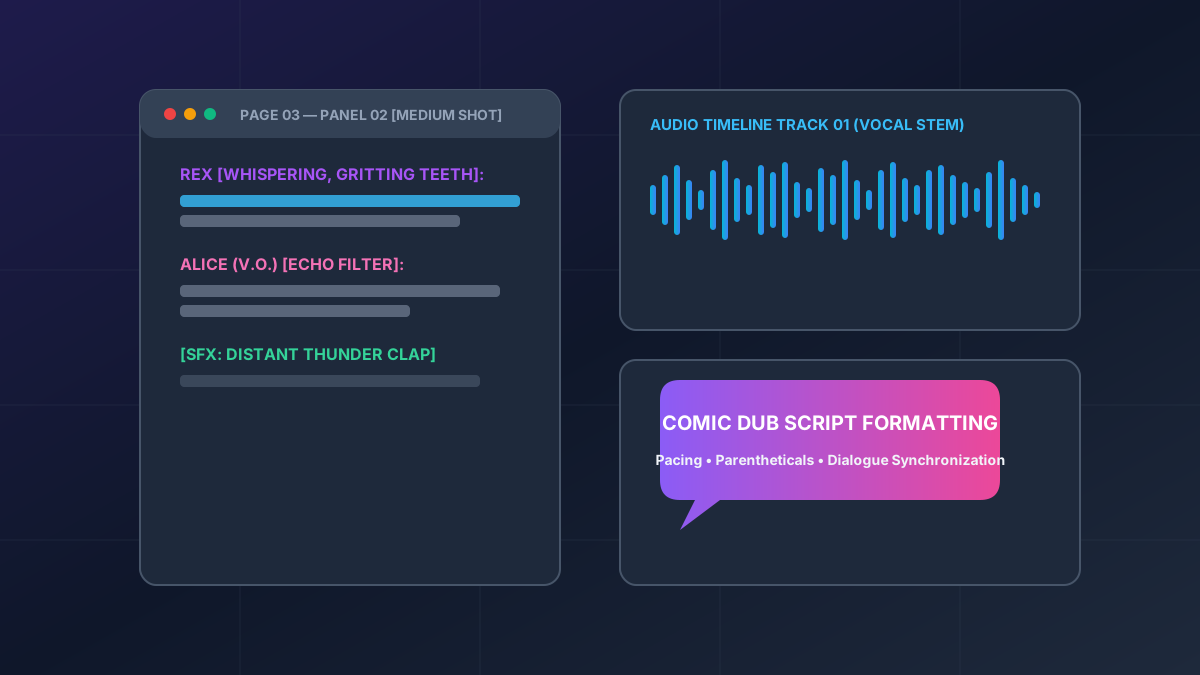
- Ignoring Audio-Visual Adaptations: Failing to format your script cleanly for future comic dub adaptations. As your webcomic expands, voice actors and audio editors will need structured dialogue scripts. Use our Comic Dub Script Formatter to maintain clean actor sides alongside your visual production.
Conclusion: Elevate Your Digital Comic Production
Vertical webcomics are the dominant storytelling medium for the next generation of visual narrative creators. By mastering gutter math, mobile reading psychology, anti-seam slicing algorithms, and canvas architecture, you place your comic among the highest tier of polished, professional digital productions.
Ready to slice your next episode? Try our free, completely private Webtoon & Comic Panel Slicer and streamline your publishing workflow today.